
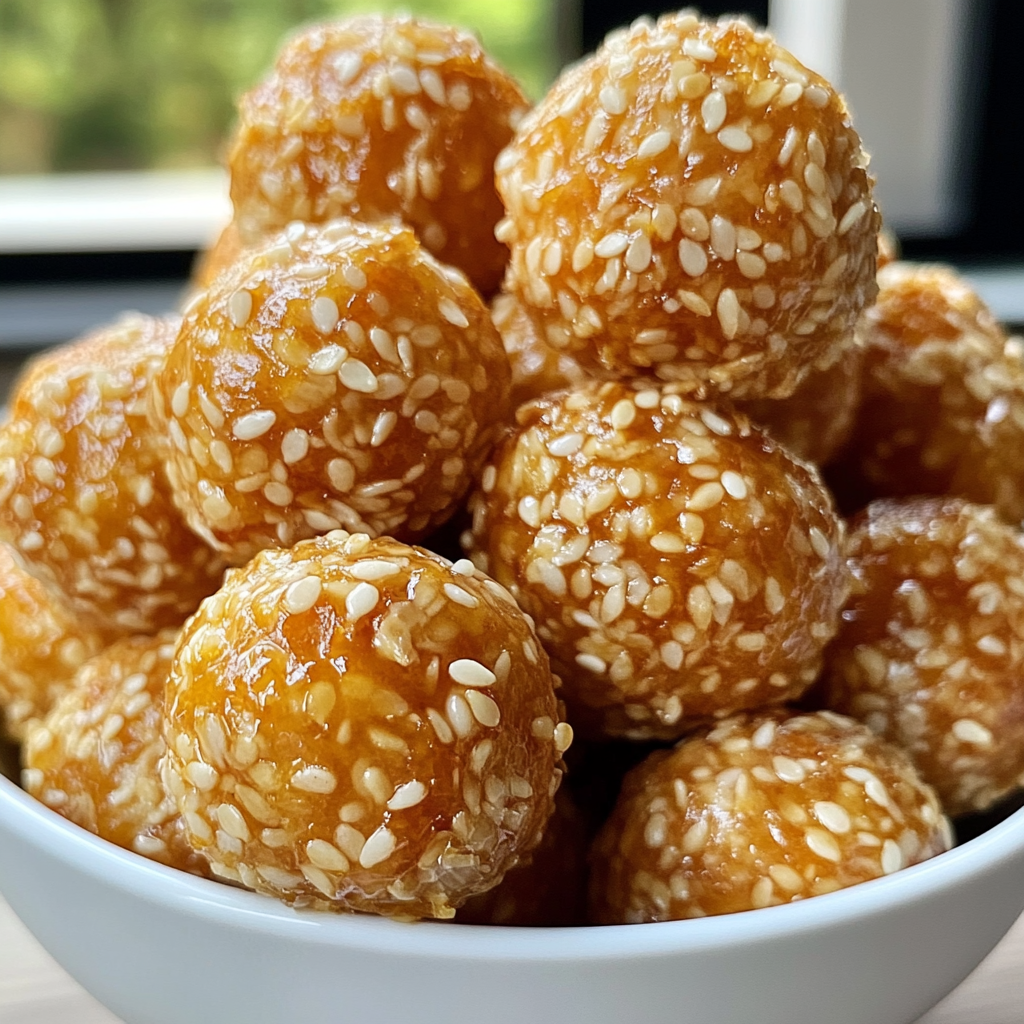
Pumpkin sesame balls, also known as “Jin Dui” in Cantonese, are a beloved treat in many Asian cultures. These golden-fried delights are known for their crispy outer shell, chewy interior, and irresistible nutty aroma from toasted sesame seeds. While traditionally filled with sweet red bean or lotus seed paste, you have the flexibility to experiment with various fillings—or none at all!
Pumpkin sesame balls are not just a snack; they hold cultural significance as a symbol of prosperity and good luck, especially during celebrations like Lunar New Year. If you’re eager to bring a taste of this classic Asian treat into your own kitchen, you’re in the right place. This guide will walk you through making pumpkin sesame balls from scratch, with instructions, expert tips, and mouth-watering variations to explore.
Ingredients You’ll Need
Before you start rolling, frying, and snacking, gather these ingredients for your pumpkin sesame balls. We’ve provided notes for substitutions to make your recipe more accessible to everyone.
Base Ingredients
- Glutinous rice flour (200g)
This is non-negotiable and gives the sesame balls their signature chewy texture. Found in most Asian grocery stores.
- Pumpkin purée (150g)
Use fresh steamed pumpkin purée or canned pumpkin for convenience. Sweet potato purée can also work as a substitute.
- White sesame seeds (1/2 cup)
Toasted sesame seeds add a delicious nutty crunch to the outer layer.
- Sugar (50g)
Choose granulated sugar or adjust sweetness with alternatives like coconut sugar.
- Baking powder (1 tsp)
This helps achieve a slightly airy crispness in the fried exterior.
Optional Fillings
- Sweet red bean paste (store-bought or homemade)
Classic and crowd-pleasing.
- Chocolate chips or Nutella
A modern, indulgent twist.
- Peanut butter
For a nutty surprise inside.
Frying
- Neutral cooking oil
Use vegetable, canola, or sunflower oil for frying. Avoid oils with a strong flavor.
With these ingredients ready, you’re just a few steps away from making golden perfection!
Step-by-Step Instructions to Make Pumpkin Sesame Balls
1: Prep the Dough
- Combine dry ingredients
Mix glutinous rice flour, sugar, and baking powder in a large mixing bowl.
- Add the pumpkin purée
Gradually incorporate the pumpkin purée into the dry ingredients. Use your hands to knead until a smooth, pliable dough forms. If the dough feels too sticky, add a tablespoon of glutinous rice flour. If it’s crumbly, add a teaspoon of water at a time.
2: Shape & Fill
- Divide the dough into small portions, roughly the size of a golf ball.
- Flatten each portion into a disc and spoon a small amount of filling (if desired) into the center. Carefully pinch the edges together to seal, then roll gently between your palms to form a smooth ball.
3: Coat with Sesame Seeds
- Prepare a shallow bowl of water and a separate bowl filled with sesame seeds.
- Roll each dough ball in water first to slightly dampen the surface, then coat generously with sesame seeds. Press lightly to make sure the seeds stick firmly.
4: Fry to Perfection
- Heat oil in a deep, heavy pan to about 325°F (160°C). Lower the sesame balls into the hot oil carefully to avoid splashes.
- Fry them in small batches, stirring gently to ensure even cooking. The sesame balls will expand as they fry.
- Cook for about 4-6 minutes, or until they turn a golden brown. Remove from the oil and drain on paper towels.
And just like that, your pumpkin sesame balls are ready to enjoy!
Expert Tips & Tricks
- Achieving the perfect texture
When kneading, aim for a dough that’s soft and pliable but not sticky. The right dough consistency ensures easy shaping and frying.
- Master the frying temperature
Keep your oil temperature consistent. Too hot, and the sesame balls will burn before fully cooking inside. Too cool, and they’ll absorb excess oil. 325°F is the sweet spot.
- Sealed tight, zero leaks
If adding fillings, double-check that your dough is completely sealed. Any exposed filling may leak and burn during frying.
- Prevent sesame fallout
Dampen the dough before rolling in seeds, and give them a gentle press to make sure the sesame sticks well.
Variations to Try
One of the best things about pumpkin sesame balls is how easily you can customize them. Here are a few variations to inspire you:
- Black Sesame Seeds
Swap white sesame for black for a more intense nutty flavor and a striking appearance.
- Matcha-Tinged Dough
Add a teaspoon of matcha powder to your dough for earthy green tea notes.
- Savory Pumpkin Balls
Leave out the sugar and fill with spiced mashed potatoes or cheese for a savory twist.
- Vegan Chocolate Delight
Mix cacao powder into the dough and fill with vegan dark chocolate.
Serving Suggestions
Pumpkin sesame balls are best enjoyed fresh and warm, but here are some creative serving ideas to elevate the experience.
- Pair with hot tea
A pot of jasmine or oolong tea complements the nutty sesame and sweet pumpkin flavors beautifully.
- Drizzle with syrup
A light drizzle of honey or coconut caramel adds a luscious touch.
- Ice Cream Pairing
Serve alongside a scoop of vanilla or matcha ice cream for a delightful contrast between hot and cold.
- Festive presentation
Stack them on a decorative plate for a show-stopping dessert at your next party or family gathering.
Storing and Reheating Pumpkin Sesame Balls
If you have leftovers (though they’re so delicious, it’s unlikely!), proper storage and reheating will help retain their delightful texture and taste.
Storage Instructions
- At Room Temperature
Keep sesame balls in an airtight container at room temperature for up to one day. They will stay soft and chewy.
- Refrigeration
For extended freshness, store them in an airtight container in the refrigerator for up to three days. Note that chilling may reduce their crispiness.
- Freezing
To freeze, arrange the sesame balls in a single layer on a baking sheet and freeze until firm. Then, transfer them to a freezer-safe container or bag. They can be stored for up to two months.
Reheating
- Oven Method
Preheat your oven to 350°F (175°C). Arrange the sesame balls on a baking sheet and heat for 5-7 minutes or until warmed through. This method helps restore some of their crispiness.
- Air Fryer
Reheat in an air fryer at 325°F (160°C) for 3-5 minutes. This is the quickest way to bring back their golden exterior.
- Microwave
For a softer texture, reheat in the microwave in 15-second intervals until warmed. Note that this method won’t restore crispness.
With proper storage and reheating, you can enjoy pumpkin sesame balls anytime, even days after they’re made!
Frequently Asked Questions
Here are some common questions and answers to ensure your pumpkin sesame ball-making experience is smooth and enjoyable!
Can I use canned pumpkin purée?
Yes, canned pumpkin purée works perfectly for this recipe. Just make sure to use pure pumpkin purée without any added spices or sweeteners.
Can I bake instead of frying?
While frying delivers the classic crispy texture, you can bake the sesame balls as a healthier alternative. Preheat your oven to 375°F (190°C), arrange the balls on a baking sheet lined with parchment paper, and bake for about 15-20 minutes, turning them halfway through for even browning. Keep in mind that the texture will be slightly different from the fried version.
What other fillings can I use?
You can experiment with various fillings such as red bean paste, sweetened coconut, or even a thick fruit jam. The possibilities are endless! For savory versions, try spiced ground meat or mashed sweet potatoes.
Why aren’t my sesame balls expanding while frying?
If your sesame balls are not puffing up, it’s likely due to the oil not being hot enough. Ensure the oil is at the recommended 325°F (160°C). Also, avoid overcrowding the pan, as this can lower the oil temperature.
Can I make the dough in advance?
Yes, the dough can be prepared a few hours in advance. Wrap it tightly in plastic wrap or store it in an airtight container at room temperature, ensuring it doesn’t dry out before shaping.
Feel free to experiment and adapt this recipe to your preferences—soon, you’ll be a sesame ball expert!
Health Benefits of Pumpkin Sesame Balls
Pumpkin sesame balls are not just a treat for the taste buds—they also offer several health benefits thanks to their wholesome ingredients.
Nutritional Highlights
- Pumpkin
Rich in vitamins A and C, pumpkin promotes healthy skin, boosts the immune system, and is packed with antioxidants that help fight free radicals. Its high fiber content supports digestion and helps maintain a feeling of fullness.
- Sesame Seeds
Sesame seeds are an excellent source of healthy fats, protein, and essential minerals like calcium, magnesium, and iron. They contribute to bone health, improve heart health, and provide a nutty flavor with a host of nutritional benefits.
- Optional Add-Ons
Depending on your filling, you can further enhance the nutritional profile. Red bean paste offers protein and fiber, while chocolate fillings can provide a quick boost of energy when needed.
A Balanced Indulgence
These pumpkin sesame balls strike a balance between indulgence and nutrition. When enjoyed in moderation, they can satisfy your sweet cravings while delivering a dose of essential nutrients. Whether served as a dessert, snack, or even a breakfast treat, they’re a versatile option for any time of the day!
Enjoy the deliciousness of pumpkin sesame balls while soaking in their nutritional goodness—a perfect harmony of flavor and health.
Final Thoughts
Pumpkin sesame balls are an irresistible treat that combines chewy, crispy, and nutty flavors into one perfect bite. Whether you stick with the classic version or experiment with creative variations, this versatile recipe is sure to delight. Perfect for family gatherings, festive celebrations, or just as a weekend project, these golden treats are both comforting and impressive. Now it’s time to don your apron and start creating these delightful bites in your own kitchen. Enjoy!