
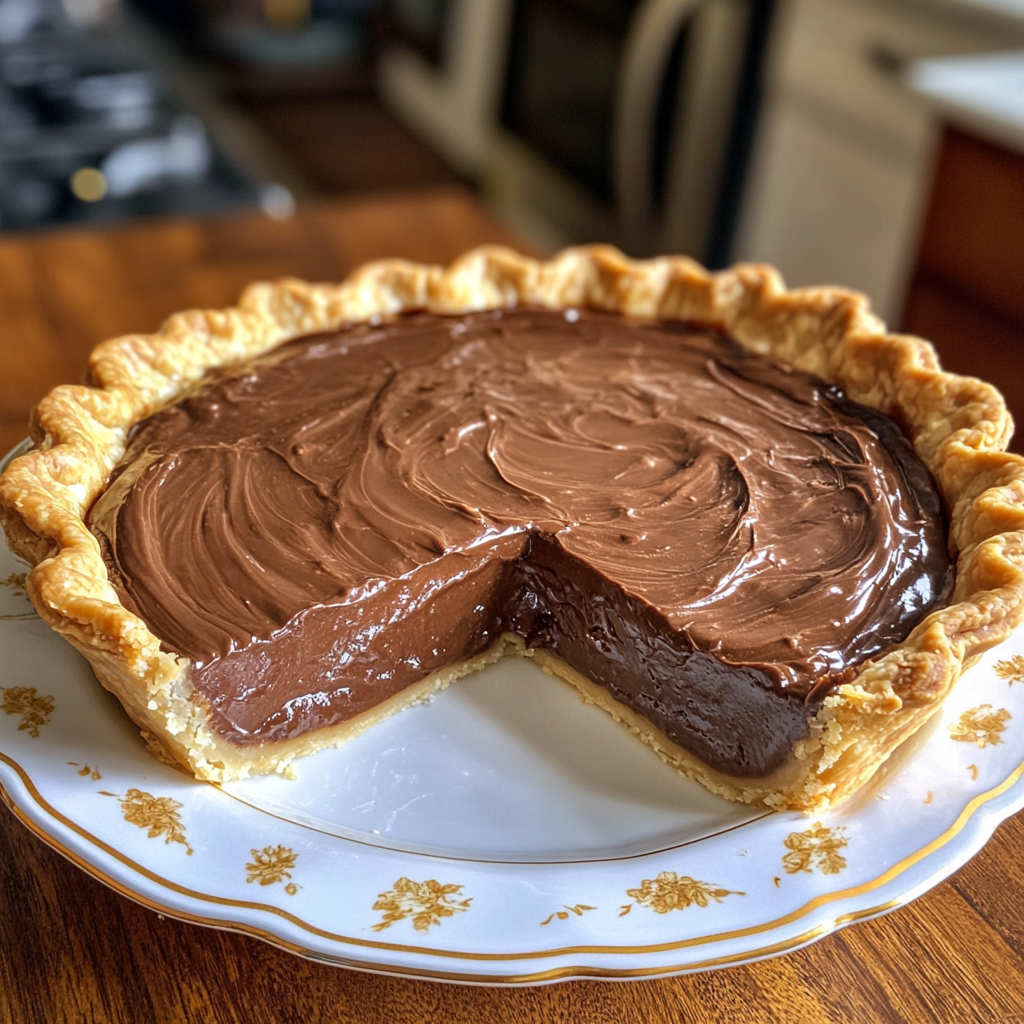
Chocolate pie is more than just a dessert; it’s a heartfelt trip down memory lane. Whether it’s served at a cozy family gathering, a picnic on a breezy afternoon, or as the star of a celebratory dinner, old-fashioned chocolate pie has a way of bringing people together. With its rich, velvety filling and buttery, flaky crust, this classic favorite harks back to a time when life was savored, one slice at a time.
If you’re ready to recreate this timeless dessert at home, you’re in the right place. This blog will take you through the history of chocolate pie, highlight the essential ingredients, and provide step-by-step instructions to craft the perfect pie. Plus, we’ll share expert tips, variations, and pairing suggestions to make your chocolate pie experience unforgettable.
Now, grab your apron, and let’s bake some nostalgia!
A Brief History of Chocolate Pie
Chocolate pie has graced dessert tables for generations, with its roots deeply embedded in Southern cuisine. Its exact origin is difficult to pin down, but historians believe the concept evolved when creative home bakers combined the comforting richness of chocolate with pies—already a beloved staple of early American cooking.
During the 19th century, as cocoa became widely available, recipes for chocolate pudding and chocolate custard started appearing in cookbooks. Enterprising bakers soon realized that pairing these luscious fillings with a tender pie crust created a match made in dessert heaven.
By the mid-20th century, old-fashioned chocolate pie had cemented its place as a classic American dessert. It became a highlight of church potlucks, holiday feasts, and Sunday dinners, often served with a dollop of whipped cream or a scoop of vanilla ice cream.
Today, chocolate pie continues to charm dessert lovers around the world with its simplicity, elegance, and downright deliciousness.
Essential Ingredients for a Rich Chocolate Pie
Before we begin crafting your pie, let’s talk ingredients. Quality is key when it comes to this dessert, so opt for the best you can find—your taste buds will thank you!
For the Crust:
- All-Purpose Flour (1 ½ cups): Forms the base of a flaky, tender crust.
- Unsalted Butter (½ cup, chilled and diced): Provides richness and structure.
- Salt (½ teaspoon): Enhances the flavor of the crust.
- Cold Water (4–6 tablespoons): Helps bring the dough together.
For the Filling:
- Granulated Sugar (1 ½ cups): Sweetens the filling.
- Unsweetened Cocoa Powder (¼ cup): Creates that rich chocolate flavor.
- All-Purpose Flour (¼ cup): Thickens the filling to the perfect consistency.
- Egg Yolks (3): Lends creaminess and depth to the filling.
- Whole Milk (2 ½ cups): Adds smooth, velvety texture.
- Unsalted Butter (4 tablespoons): Adds shine and richness to the filling.
- Vanilla Extract (1 teaspoon): Enhances the chocolatey goodness.
For the Topping (Optional):
- Whipped Cream or Meringue (as desired): Complements the pie with a light, airy finish.
Step-by-Step Instructions for a Perfect Old-Fashioned Chocolate Pie
Now, let’s bring this classic to life with these step-by-step instructions!
1: Prepare the Pie Crust
- Combine the flour and salt in a mixing bowl.
- Work the chilled butter into the flour mixture using a pastry blender or your fingertips until the mixture resembles coarse crumbs.
- Gradually add cold water, one tablespoon at a time, mixing until the dough just comes together.
- Shape the dough into a disk, wrap it in plastic wrap, and refrigerate for 30 minutes.
- Roll out the dough on a floured surface and transfer it to a 9-inch pie pan. Trim and crimp the edges, then chill the crust for another 15 minutes.
- Preheat your oven to 375°F (190°C), line the crust with parchment paper, and fill it with pie weights or dry beans. Bake for 15 minutes, then remove the weights and bake for an additional 10 minutes until golden brown. Cool completely.
2: Make the Chocolate Filling
- Combine sugar, cocoa powder, flour, and a pinch of salt in a medium saucepan.
- Gradually whisk in the milk, ensuring no lumps remain. Cook over medium heat, stirring constantly, until the mixture begins to thicken (about 10–12 minutes).
- Beat the egg yolks in a small bowl, then temper them by whisking in a ladleful of the hot chocolate mixture. Slowly pour the tempered yolks back into the saucepan, stirring constantly.
- Reduce the heat to low and cook for another 3–4 minutes until the filling is thick and glossy.
- Remove from heat, stir in butter and vanilla extract until smooth, and allow the filling to cool slightly.
3: Assemble the Pie
- Pour the warm chocolate filling into the pre-baked crust, smoothing the top with a spatula.
- Chill the pie in the refrigerator for at least 4 hours or until set.
Step 4 (Optional): Add the Topping
Top the pie with a generous layer of whipped cream or meringue before serving.
Tips and Tricks for Pie Perfection
- Use Cold Butter for the crust to ensure maximum flakiness.
- Sift the Cocoa Powder with the flour and sugar to prevent lumps in the filling.
- Don’t Skip Tempering the egg yolks—it prevents them from scrambling when added to the hot mixture.
- Chill the Pie Fully before cutting for clean, neat slices.
Delicious Variations to Try
Love experimenting in the kitchen? Give these twists a try!
- Spicy Chocolate Pie: Add a pinch of cayenne and cinnamon to the filling for a Mexican hot chocolate vibe.
- Nutty Delight: Sprinkle toasted pecans or hazelnuts over the filling before chilling.
- Mocha Magic: Stir a shot of espresso into the chocolate mixture for a coffee-infused treat.
Serving Suggestions and Pairings
Old-fashioned chocolate pie is versatile and pairs beautifully with various accompaniments. Try serving it with:
- A dollop of whipped cream and fresh berries.
- A drizzle of salted caramel sauce.
- A scoop of vanilla bean or coffee ice cream on the side.
- A hot cup of French press coffee or a glass of creamy milk.
Bake a Slice of Nostalgia Today
Old-fashioned chocolate pie is a testament to the beauty of simple, time-honored recipes. Its indulgent chocolate filling and flaky crust make it an irresistible dessert for any occasion. Whether you’re making it for your family, friends, or just for yourself (we won’t judge!), this recipe is guaranteed to brighten your day.
Why wait? Gather your ingredients, follow the steps, and treat yourself to a dessert that’s as comforting as it is delicious. Tag us on social media with your pie creations—we’d love to see your masterpiece!
Happy baking!
Frequently Asked Questions About Old-Fashioned Chocolate Pie
Can I use a store-bought crust?
Absolutely! While a homemade crust adds a personal touch and allows for optimal flakiness, a high-quality store-bought pie crust can be a time-saving substitute. Just be sure to prebake it according to the package instructions before adding the filling.
How long does old-fashioned chocolate pie keep?
If stored properly in the refrigerator, covered with plastic wrap or aluminum foil, your chocolate pie can last up to 3–4 days. It’s best enjoyed fresh, but the flavors often deepen after a day in the fridge!
Can I make this pie ahead of time?
Yes! Old-fashioned chocolate pie is a perfect make-ahead dessert. Prepare and assemble the pie a day before your event, letting it chill and set overnight. If you’re adding whipped cream or meringue, do so just before serving for optimal freshness.
Can I make the filling without eggs?
Yes, you can make an egg-free version by using cornstarch or another thickening agent to achieve the desired consistency. The texture will be slightly different, but it will still be rich and delicious.
What’s the best way to prevent a soggy crust?
To prevent a soggy crust, always prebake or blind bake your pie shell before adding the filling. This step ensures the crust stays crisp and holds up beautifully against the velvety chocolate filling.
Chocolate Pie Troubleshooting Tips
Even the most seasoned bakers encounter challenges in the kitchen. If your old-fashioned chocolate pie didn’t turn out as expected, here are some common issues and how to fix them:
- Runny Filling: If your filling didn’t set properly, it’s likely due to undercooking or insufficient thickening. Make sure to cook the mixture until it coats the back of a spoon before removing it from the heat. Also, ensure you chill the pie for the recommended time to allow it to firm up.
- Cracked Filling Surface: Overcooking the filling or chilling it too quickly can cause cracks to form. To avoid this, monitor your heat closely while cooking, and allow the pie to cool gradually to room temperature before refrigerating.
- Too Thick or Grainy Filling: This can occur if the heat is too high during cooking or if the ingredients aren’t mixed smoothly. Always whisk constantly on medium or low heat and sift your dry ingredients to avoid lumps.
- Soggy Crust: Skipping the blind baking step or not baking the crust thoroughly can result in sogginess. Take the time to prebake your crust until golden and crisp for the best results.
- Whipped Cream Melting: If your whipped cream topping doesn’t hold its shape, it may need stabilization. Adding a bit of powdered sugar or cream of tartar while whipping can help it stay firm longer.
Conclusion
Baking a chocolate pie is a rewarding experience that combines creativity, skill, and a love for sharing delicious treats with others. Whether you’re a seasoned baker or just starting out, each attempt brings new opportunities to experiment and improve. Remember, the joy of baking lies not only in the finished dessert but also in the process itself. Celebrate your efforts, savor the sweet results, and don’t forget to share the indulgence with family and friends. Happy baking!